")
")


Understanding Laser Cutter Speed Fundamentals
Laser cutter speed is the rate at which the head moves across material, usually measured in mm/s or mm/min.
In the same way a router’s feed rate matters, the speed here determines how much the beam dwells on each spot.
- Slower movement lets the laser burn deeper, while speeding through a pass limits heat buildup.
- In combination with power, this determines kerf width, edge smoothness, and whether you slice cleanly or scorch.
Cutting and engraving use different speed ranges:
- Cut paths need more energy per millimeter, so you either slow down or boost power.
- Engraving relies on consistent motion; too slow and you burn, too fast and the design fades.
Speed matters not just for quality but also for repeatability—machines like the Creality Falcon keep accuracy even when you switch between a detailed, slow engraving and a brisk cutting job.
Material Considerations for Speed Settings
Materials absorb laser energy differently, so start with the baseline your machine manual or community presets offer.
- Acrylic cuts clean at moderate speeds (10–20 mm/s) with higher power, while engraving demands faster passes around 60–80 mm/s to avoid melting edges.
- Woods such as birch or basswood tend to respond well to 20–25 mm/s for cutting, but a thin, detailed engraving might want 100 mm/s at lower power.
- Leather and kraftboard need careful balancing because of flammability—keep speed even, with multiple passes instead of a single slow one.
- Metals typically require specialized machines; for hobby CO₂ lasers, you’ll likely use engraving speeds in the 200–400 mm/s range with low power for marking, not cutting.
Thickness also shifts the numbers:
- Every additional millimeter of acrylic might drop your speed by 10%.
- Darker colors or coated materials absorb more energy, so you can push the head faster compared to shiny surfaces.
Keep a log of how color and finish impact your baseline so you can adjust without guessing.
Balancing Speed With Power and Quality
Speed doesn’t work alone.
- Higher power can offset faster movement by delivering the same total energy.
- However, if you crank speed without adjusting power, cuts become incomplete and edges fray.
- On the other hand, moving too slowly concentrates heat, which can cause burn marks or melt-through on delicate materials.
Dialing in a “sweet spot” starts with a test grid:
- Pick a small scrap, set a moderate power, and vary speed in columns.
- Watch for the point where cuts finish cleanly with just one pass.
- Then fine-tune around that row—perhaps increasing speed slightly for faster throughput while keeping power where it cuts without burning.
Mini-case:
- Start a project on acrylic with 12 mm/s, 80% power.
- If the edges show haze, raise speed by 2 mm/s while keeping power steady, and re-test.
- Once the cut clears fully but keeps smooth sides, move to final production.
This incremental method shifts you from test to run without wasting materials or time.
Workflow Tips for Setting and Testing Speed
Repeatability comes from documentation. Keep a notebook or digital tracker for each material, noting thickness, speed, power, and focus height. That way, a mint-condition piece of walnut you cut for personalized signs last month can be replicated faster.
Before every major job:
- Run a test grid to preview how speed adjustments show up.
- Update presets in your software, noting the exact job name.
- Clean lenses and verify focus height so speed results stay consistent from session to session.
Software often comes with presets, but they may not match your specific material.
- Use them as starting points, increase or decrease speed in 10% increments, and mark what worked.
- If the job spans several materials, break it into labeled passes with saved parameters so the machine doesn’t run blind.
- Keep cleaning supplies handy—dust on the lens or an off-focus beam can mimic a slow-speed problem even when settings are correct.
Speed Optimization for Different Goals
Every job has a priority:
- For fine engraving—think leather monograms or wood inlays—run slower, around 80–120 mm/s, to lay down crisp lines without char.
- For fast acrylic cutouts or production signs, push speeds higher (15–30 mm/s) with power tuned to maintain penetration.
- When you need depth, such as cutting through 6 mm plywood, try multi-pass strategies:
- Use a faster pass at 15 mm/s, lower power just enough, then repeat until the cut breaks through cleanly.
- Use a faster pass at 15 mm/s, lower power just enough, then repeat until the cut breaks through cleanly.
This straight-through approach prevents scorching while keeping the job moving.
If you’re chasing throughput, consider combining speed with more passes rather than a single, ultra-slow cut. Fast passes remove material with less thermal stress. For detail-focused projects, slow down the head to keep edges sharp and avoid scalloping. Always watch for evidence of burning—if it pops up, you were either too slow or had too much power for the material.
Tools and Resources That Help You Dial in Speed
There are plenty of calculators and spreadsheets tailored to laser hobbyists.
- Load your material thickness and power capabilities into a sheet that outputs recommended speed ranges.
- Some community-developed tools even let you paste your laser model (like the Falcon) for more accurate guidance.
Forums and Discord groups share presets tested by other makers.
- Save the ones that work and tweak them to your own machine quirks.
- Keep a quick-reference card near your cutter with material, thickness, speed, and power so you can glance over it during setup.
- Pairing that with digital notes on the same workflow ensures you don’t start from square one on every job.
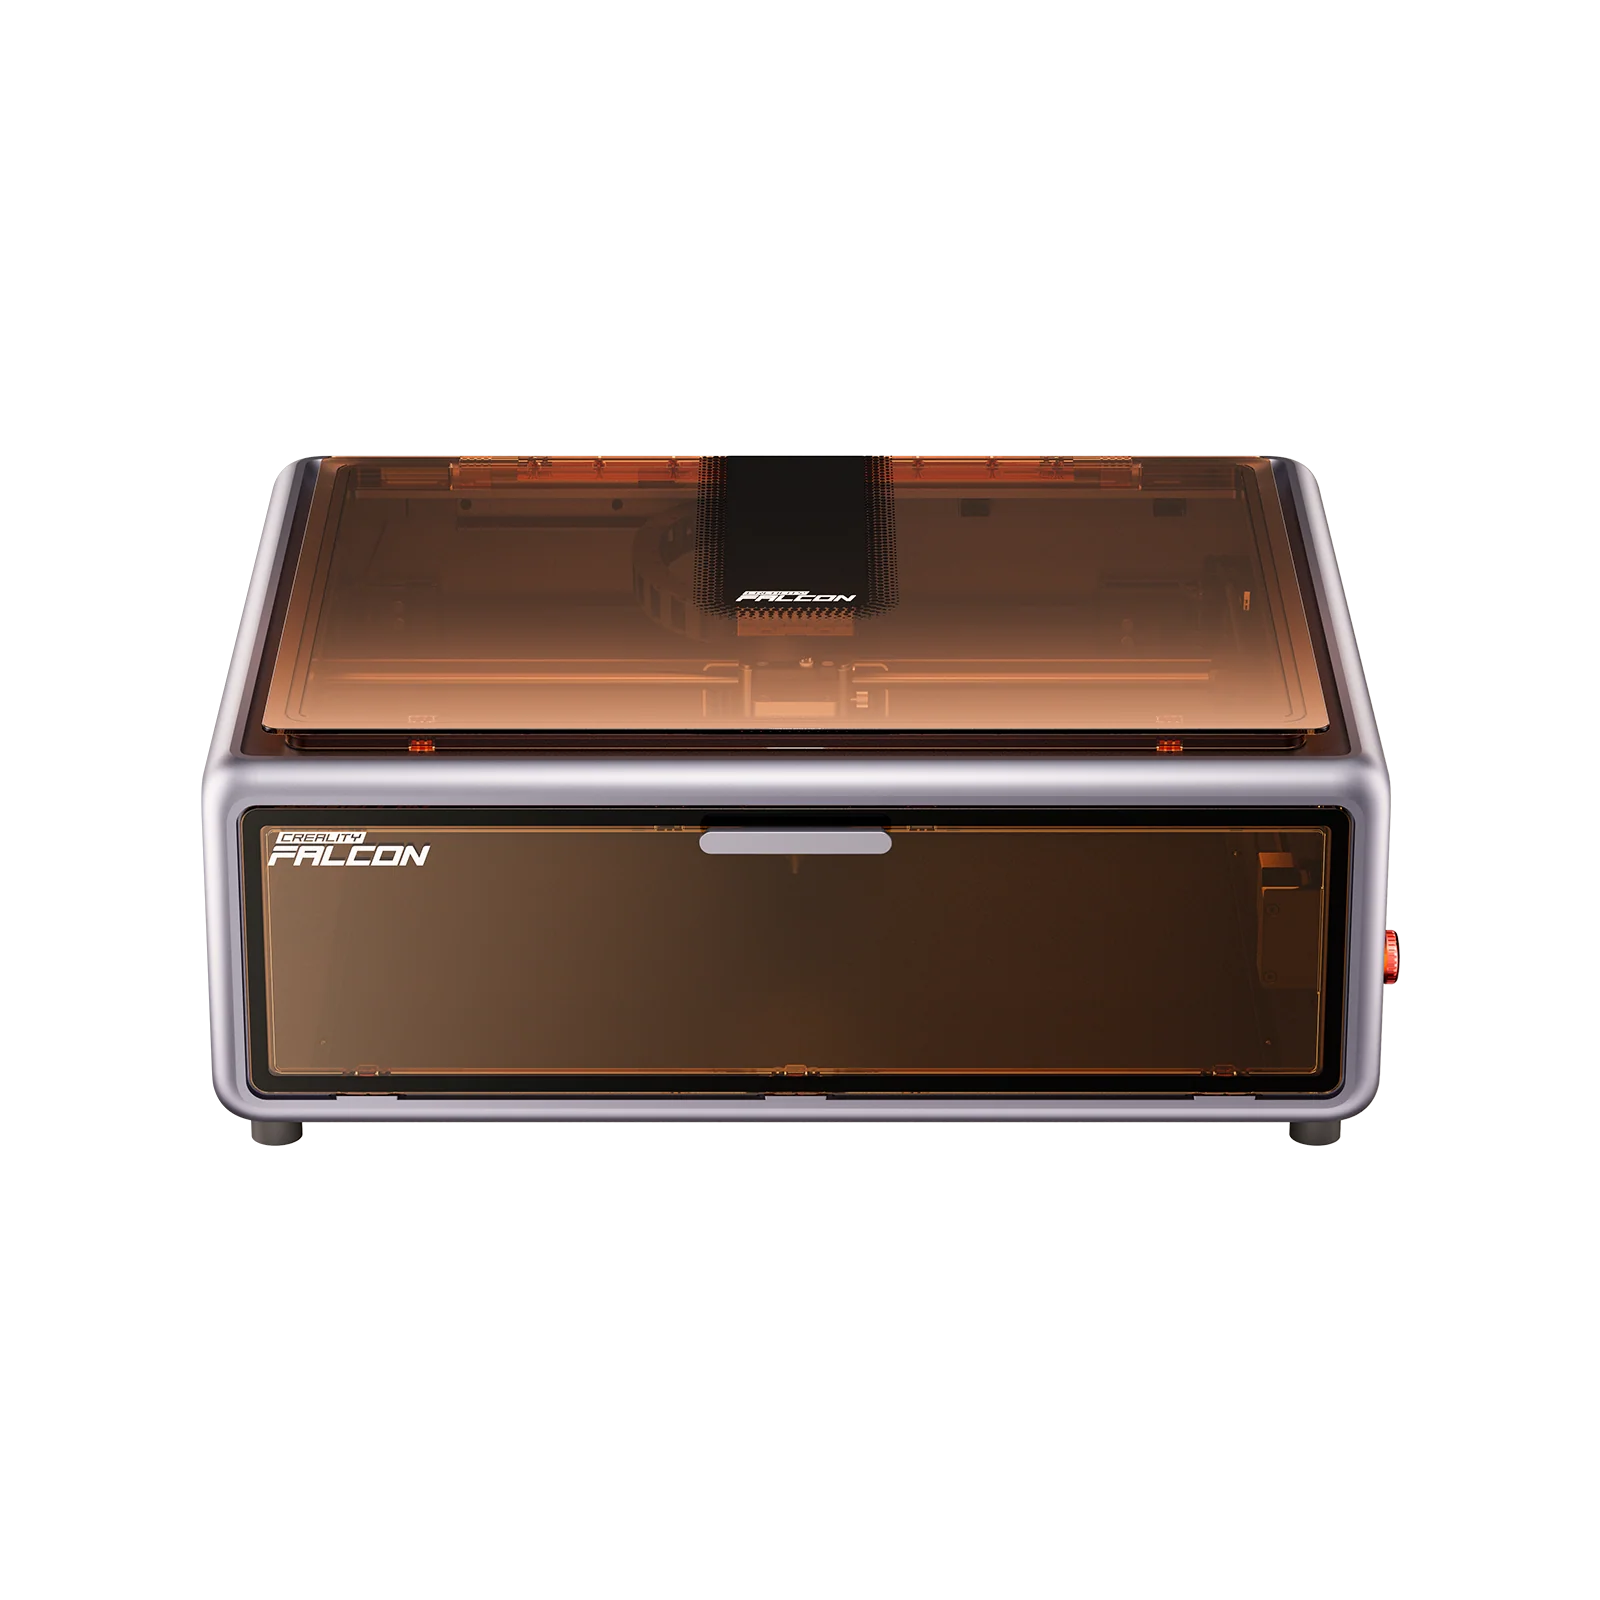
Creality Falcon Best-Fit Pick
The Creality Falcon Laser Cutter stands out because it gives makers detailed control over both speed and power, making it easy to switch from detailed engraving to fast cuts without losing consistency.
Its built-in presets offer a solid starting point, and they’re easy to fine-tune—perfect for a small craft business that needs both personalized gift engraving and efficient signage production.
Repeatability is strong, so the test data you gather translates to full production without surprises. Airflow and cooling help keep long, high-speed runs clean, reducing downtime.
Soft Tip: Keep notes on each project’s speed, power, and material for a smarter baseline next time, ensuring every job starts off on the right foot.
Troubleshooting Common Speed Issues
Speed problems often show up as blowouts, slow penetrations, or inconsistent engraving.
If cuts look incomplete, slow the head and raise power.
If the edges brown or melt, either increase speed slightly or reduce power.
Sometimes the culprit isn’t speed at all:
- A misfocused beam or dirty lens can mimic poor performance.
Checklist before blaming hardware:
- Clean optic surfaces.
- Verify focus height matches the material thickness.
- Check that airflow and exhaust are running to remove debris.
- Reseat belts or rails if motion feels sticky.
If everything checks out and issues persist, revisit your speed/power combo via a fresh test grid. Often the fix is a tiny adjustment rather than a major overhaul.
By understanding how speed works in concert with power, material, and workflow, you can keep your laser cutting projects sharp, clean, and efficient.
READ ALSO: Efficient Resin Use Guide: Maximize Rewards in Genshin Impact