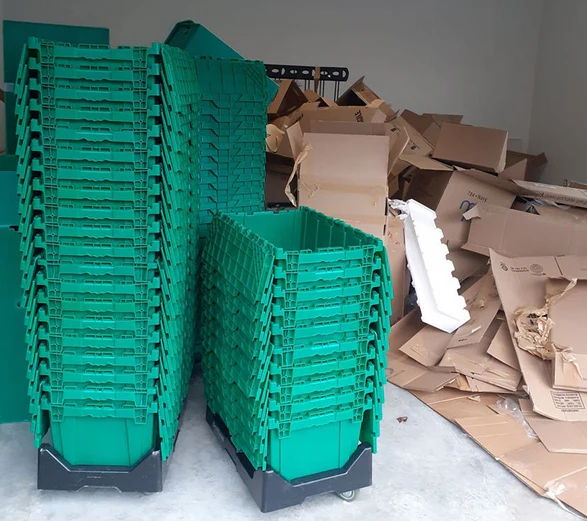


Cleaning frequency depends on the operating environment. A forklift working in a clean, climate-controlled warehouse will need less frequent radiator cleaning than one operating in a dusty lumber yard, a cardboard recycling facility, or a textile warehouse where airborne fibers are constant.
As a general guideline, radiator cleaning should be performed every 250 hours of operation under normal conditions. In environments with heavy airborne debris, monthly cleaning or even more frequent attention may be necessary. The best approach is to include a quick visual radiator check in the daily pre-shift inspection so that buildup is caught early rather than allowed to accumulate to the point of causing overheating.
Tools and Materials You Will Need
Gathering everything before you start makes the cleaning process faster and more efficient. Here is what you will need:
A soft-bristle brush or a dedicated radiator cleaning brush works well for removing loose, dry debris from the fins without causing damage. Compressed air with a blow gun attachment is essential for flushing debris out of the fin passages. A garden hose or low-pressure water sprayer is useful for more thorough cleaning when dry methods are not sufficient. A fin comb or straightening tool is helpful for restoring bent fins to their original position. Clean shop rags and safety glasses should always be on hand when working near the cooling system. For a deep clean, a commercially available radiator cleaner or a mild soap solution can help break down oily or stubborn deposits.
Step-by-Step Forklift Radiator Cleaning Process
Step 1 — Shut Down the Forklift and Allow It to Cool Completely
Safety comes first. Never attempt to clean or inspect a radiator on a running or recently operated forklift. The cooling system operates under pressure, and a hot radiator can cause serious burns if disturbed. Shut the engine off and allow at least 30 to 45 minutes for the system to cool and depressurize before beginning any work. If you are unsure whether the system has cooled sufficiently, place your hand near — not on — the upper radiator hose. If it still radiates significant heat, wait longer.
Step 2 — Access the Radiator
On most forklifts, the radiator is located at the rear of the machine near the counterweight. Open the engine hood or remove the rear access panel to expose the radiator. On some models, additional covers or guards may need to be removed to gain full access to both sides of the radiator core. Refer to your service manual if access points are not immediately obvious.
Step 3 — Perform a Visual Inspection Before Cleaning
Before reaching for any tools, take a moment to visually assess the radiator’s condition. Look for obvious accumulations of dust, fiber, or debris on the front face of the radiator. Check for any bent or collapsed fins, which restrict airflow even after cleaning. Look for signs of coolant leaks — dried coolant residue around the radiator tanks, seams, or inlet and outlet connections often appears as a white, crystalline, or greenish crust. Note any physical damage such as dents, punctures, or cracked tanks. This visual assessment will guide your cleaning approach and help you identify any issues that need attention beyond a routine cleaning.
Step 4 — Remove Loose Debris with a Soft Brush
Using a soft-bristle brush, gently sweep loose dust, fibers, and debris from the face of the radiator. Work carefully and avoid pressing hard against the fins, as they are made from thin aluminum and bend easily. Brush in the direction of the fins — either up and down or side to side depending on the fin orientation — rather than across them. Pay particular attention to the corners and edges of the radiator where debris tends to accumulate most heavily.
Step 5 — Use Compressed Air to Clear the Fin Passages
This is one of the most effective steps for restoring airflow through a clogged radiator. Using a blow gun attached to a compressed air line, direct the airflow through the radiator fins from the engine side outward — that is, blowing in the opposite direction of normal airflow. This pushes accumulated debris out of the fins rather than compressing it deeper into the core.
Keep the nozzle a few inches away from the fins and use short bursts rather than sustained blowing. Holding the nozzle too close or using too much pressure can bend the fins. Work methodically across the entire face of the radiator to ensure all sections are cleared. Wear safety glasses during this step, as debris will be blown outward.
Step 6 — Rinse with Low-Pressure Water for Stubborn Deposits
When dry cleaning methods are not enough to remove compacted debris, oily residue, or fine dust that has bonded to the fin surfaces, a water rinse is the next step. Use a garden hose or a low-pressure sprayer — never a pressure washer, as the high-pressure stream will collapse the fins and permanently damage the radiator core.
As with compressed air, direct the water from the engine side outward to push debris out of the fins. Use a gentle, even spray and work across the entire radiator surface in overlapping passes. If deposits are particularly stubborn, a solution of mild dish soap and water applied with a soft brush before rinsing can help break them down. Rinse thoroughly with clean water to remove all soap residue before allowing the radiator to dry.
Step 7 — Straighten Bent Fins
After cleaning, inspect the fin surface carefully for bent or collapsed fins. Even small areas of fin damage can reduce airflow meaningfully, so restoring fins to their proper position is worth the effort. A fin comb — an inexpensive tool available at most automotive supply stores — allows you to straighten bent fins without causing further damage. Select the correct comb spacing for your radiator’s fin pitch and carefully run it through the bent area to restore the fins to their original alignment. Work slowly and patiently, as rushing this step can cause additional bending.
Step 8 — Inspect the Radiator Cap and Pressure Relief System
While the radiator is accessible, take a moment to inspect the radiator cap. The cap maintains system pressure, which raises the coolant’s boiling point and prevents vapor lock. A cap with a worn or cracked rubber seal, a damaged sealing surface, or a faulty pressure relief valve should be replaced. Radiator caps are inexpensive and should be replaced as a matter of course during any cooling system service.
Step 9 — Check Hoses and Clamps
With the radiator area accessible, inspect the upper and lower radiator hoses for cracking, swelling, softness, or hardness. Squeeze each hose firmly — it should feel firm but pliable. Hoses that feel spongy and soft, or hard and brittle, are deteriorating and should be replaced before they fail. Check all hose clamps for tightness and any signs of corrosion. Tighten any loose clamps and replace any that are corroded or damaged.
Step 10 — Check the Coolant Level and Condition
After cleaning and inspection, check the coolant level in the reservoir and top off if necessary using the correct coolant type and mixture ratio. If the coolant appears discolored, contaminated, or has not been changed within the recommended interval, plan a full coolant flush and replacement at the next scheduled service.
Step 11 — Reinstall Covers and Test
Reinstall any access panels, guards, or hood components removed to access the radiator. Start the forklift and allow it to reach operating temperature. Monitor the temperature gauge closely during this initial run to confirm that the cleaning has restored proper cooling performance. Check for any coolant leaks around the hoses, clamps, and radiator before returning the machine to service.
Deep Cleaning a Severely Clogged Radiator
In cases where routine cleaning methods are not sufficient — particularly for radiators that have been severely neglected or that have accumulated heavy oil and debris buildup — a more intensive cleaning approach may be needed.
For external fin cleaning, a commercially available coil cleaner or foaming radiator cleaner can be applied to the fin surface, allowed to dwell for the time specified on the product label, and then rinsed thoroughly. These products are formulated to break down oils and bonded debris without damaging the aluminum fins or rubber seals.
For internal radiator cleaning, a chemical flush performed as part of a coolant replacement service can remove scale, rust, and mineral deposits from the internal tubes and passages. This involves filling the system with a flush solution, running the engine for a specified period, draining the system completely, and flushing with clean water before refilling with fresh coolant.
If the radiator has developed internal blockages that reduce flow despite chemical flushing, or if physical damage such as cracked tanks or leaking seams is present, the radiator should be removed and either professionally recored or replaced entirely.
Preventing Radiator Buildup: Long-Term Best Practices
Cleaning is essential, but preventing excessive buildup in the first place reduces the frequency and intensity of cleaning needed. Here are some practical steps to minimize radiator contamination:
Establish a regular cleaning schedule and stick to it. Include a visual radiator check in the daily pre-shift walkaround so that buildup is caught early. In environments with heavy airborne debris, consider more frequent cleaning intervals than the standard recommendation.
Keep the area around the forklift as clean as practical. While you cannot control all airborne particles in a busy warehouse, keeping floor debris swept and minimizing loose materials in high-traffic forklift areas reduces the amount of debris that gets pulled into the cooling system.
Inspect the cooling fan and shroud regularly. A damaged fan blade reduces airflow efficiency, and a cracked or missing fan shroud allows air to recirculate rather than flowing through the radiator. Both issues increase the cooling load on the radiator and accelerate overheating.
Train operators to monitor the temperature gauge and report any signs of overheating immediately. Early identification of cooling problems allows maintenance to intervene before a minor issue becomes a major repair.
Using Quality Parts to Support Radiator Maintenance
Even with an excellent cleaning and maintenance routine, cooling system components eventually wear out and need to be replaced. Thermostats, water pumps, hoses, clamps, radiator caps, and in some cases the radiator itself will reach the end of their service life. Using quality replacement parts that meet OEM specifications ensures that your cooling system performs as designed and that your maintenance investment is not undermined by inferior components.
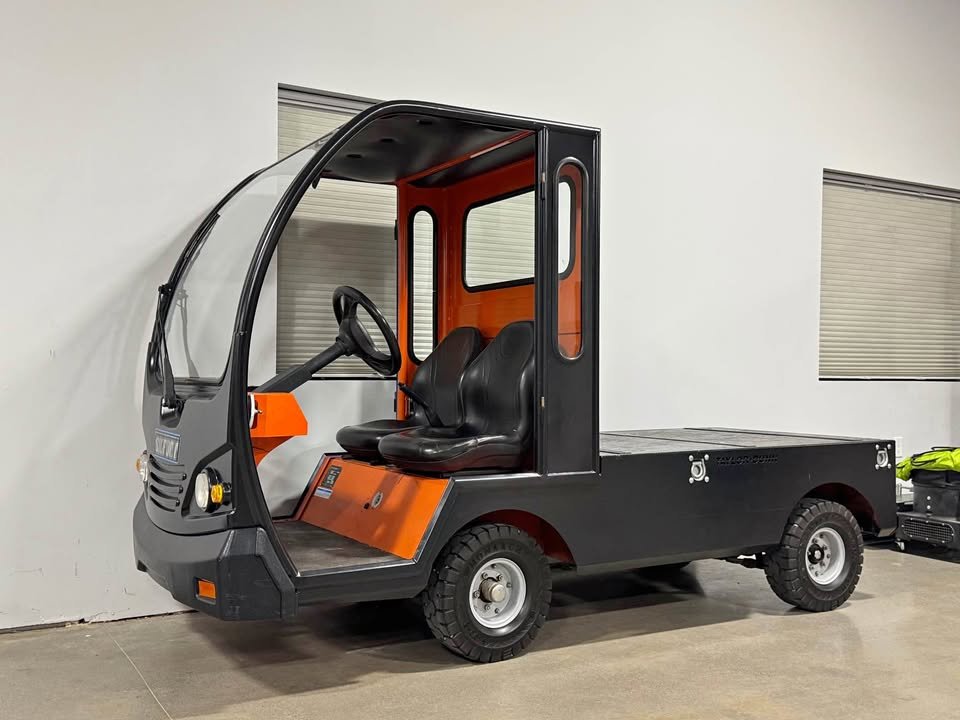
For Taylor-Dunn equipment operators looking for reliable replacement parts to support their maintenance program, read more about the available selection of Taylor-Dunn parts to keep your fleet in top operating condition.
Final Thoughts
Cleaning and maintaining a forklift radiator is one of the most straightforward and highest-impact maintenance tasks in any warehouse operation. It requires no specialized tools, no advanced technical knowledge, and relatively little time — yet it pays enormous dividends in engine protection, reduced downtime, and extended equipment life.
The key is consistency. A radiator that is cleaned regularly never becomes severely clogged, never causes an overheating crisis, and never forces you to choose between running a machine that is too hot or pulling it out of service at the worst possible moment. Build radiator cleaning into your maintenance schedule, train your team to perform quick visual checks every day, and address problems before they escalate.
Your forklift’s engine depends on the radiator to stay cool under pressure. Give that radiator the regular attention it deserves, and it will protect your engine and your operation for thousands of hours to come.